
Last post was March, blimey...
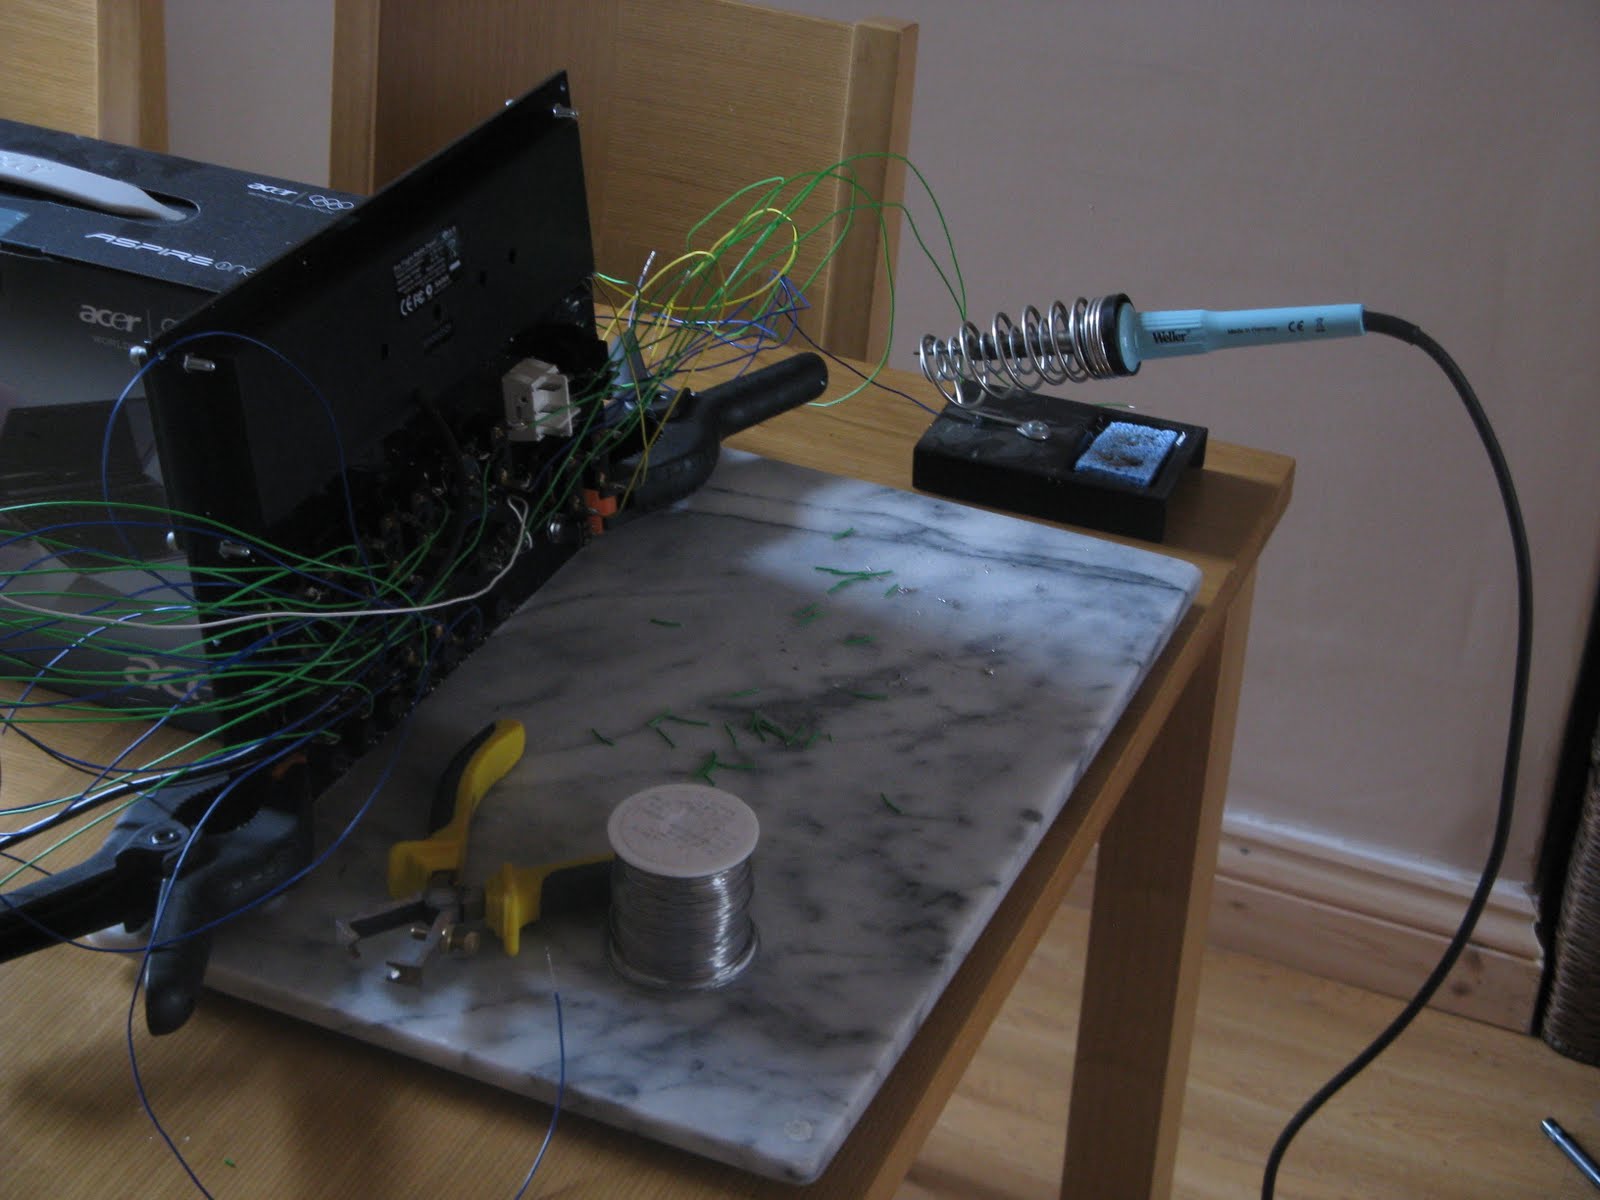
This weekend I have managed to successfully integrate my Primary 6 flight simulator with X-plane 9.70. Everything now works using a few 3rd party plug-ins from the X-plane community and a beta plug-in from Simkits themselves. I use the following software to control all the switches and gauges within version 9.70.
Software - SVmapper - A free, simple to use, key mapping program that reads the switch presses and turns them into key stroke signals. You can tie a toggle switch to a key press or release (or both).
Get it here:http://simhq.com/forum/ubbthreads.php?ubb=showflat&Number=2367911&fpart=5
X-plane Plug-in - TRCPlane-14-02-2011 - Simkits's free USB X-plane interface. This is currently in beta but works very well already. It controls the USB turn coordinator.
Get it here:http://www.simkits.com/cgi-bin/forum/YaBB.pl?num=1289382919
X-plane Plug-in - Simkits_XPL_3.1 - SuperDuif's free X-plane CCU interface - A fantastic plug-in that utilises the Simkits SDK to control all the (old) CCU2 instruments. Couldn't have done anything without this. Thanks SuperDuif.
Get it here:http://home.kpn.nl/~superduif/simkits.html
X-plane Plug-in - XPSaitek.xpl - A free plug-in by
floegl @ xplane.org. I believe this is a better plug-in than the one that Saitek has released. This allows the toggle switch to turn on the Saitek unit something I can't even do with their windows software.
Get it here:http://forums.x-plane.org/index.php?app=downloads&showfile=10161
Hope these links may be of help to someone.


 After a year of development, my primary 6 project is almost complete. I say almost beacuse I'd like to add a new Primary 6 logo to the side of the case and have some decals done for switches acting as dummy circuit breakers. These photographs were taken with my own camera. However once it is complete I'm going to get some professional shots taken by our photography department.


